Friday, April 4, 2025

WOVEN RED-STRIPED BLOUSE – it's not a uniform

I remember that when I first saw this blouse in the magazine I thought no way, this was going to be to complicated, I want simple. But then I saw the makes of others and everybody said that it was not difficult at all. So I gave it a try.


I made Burda pattern: from Burda 7/2016, model 114, size 38.

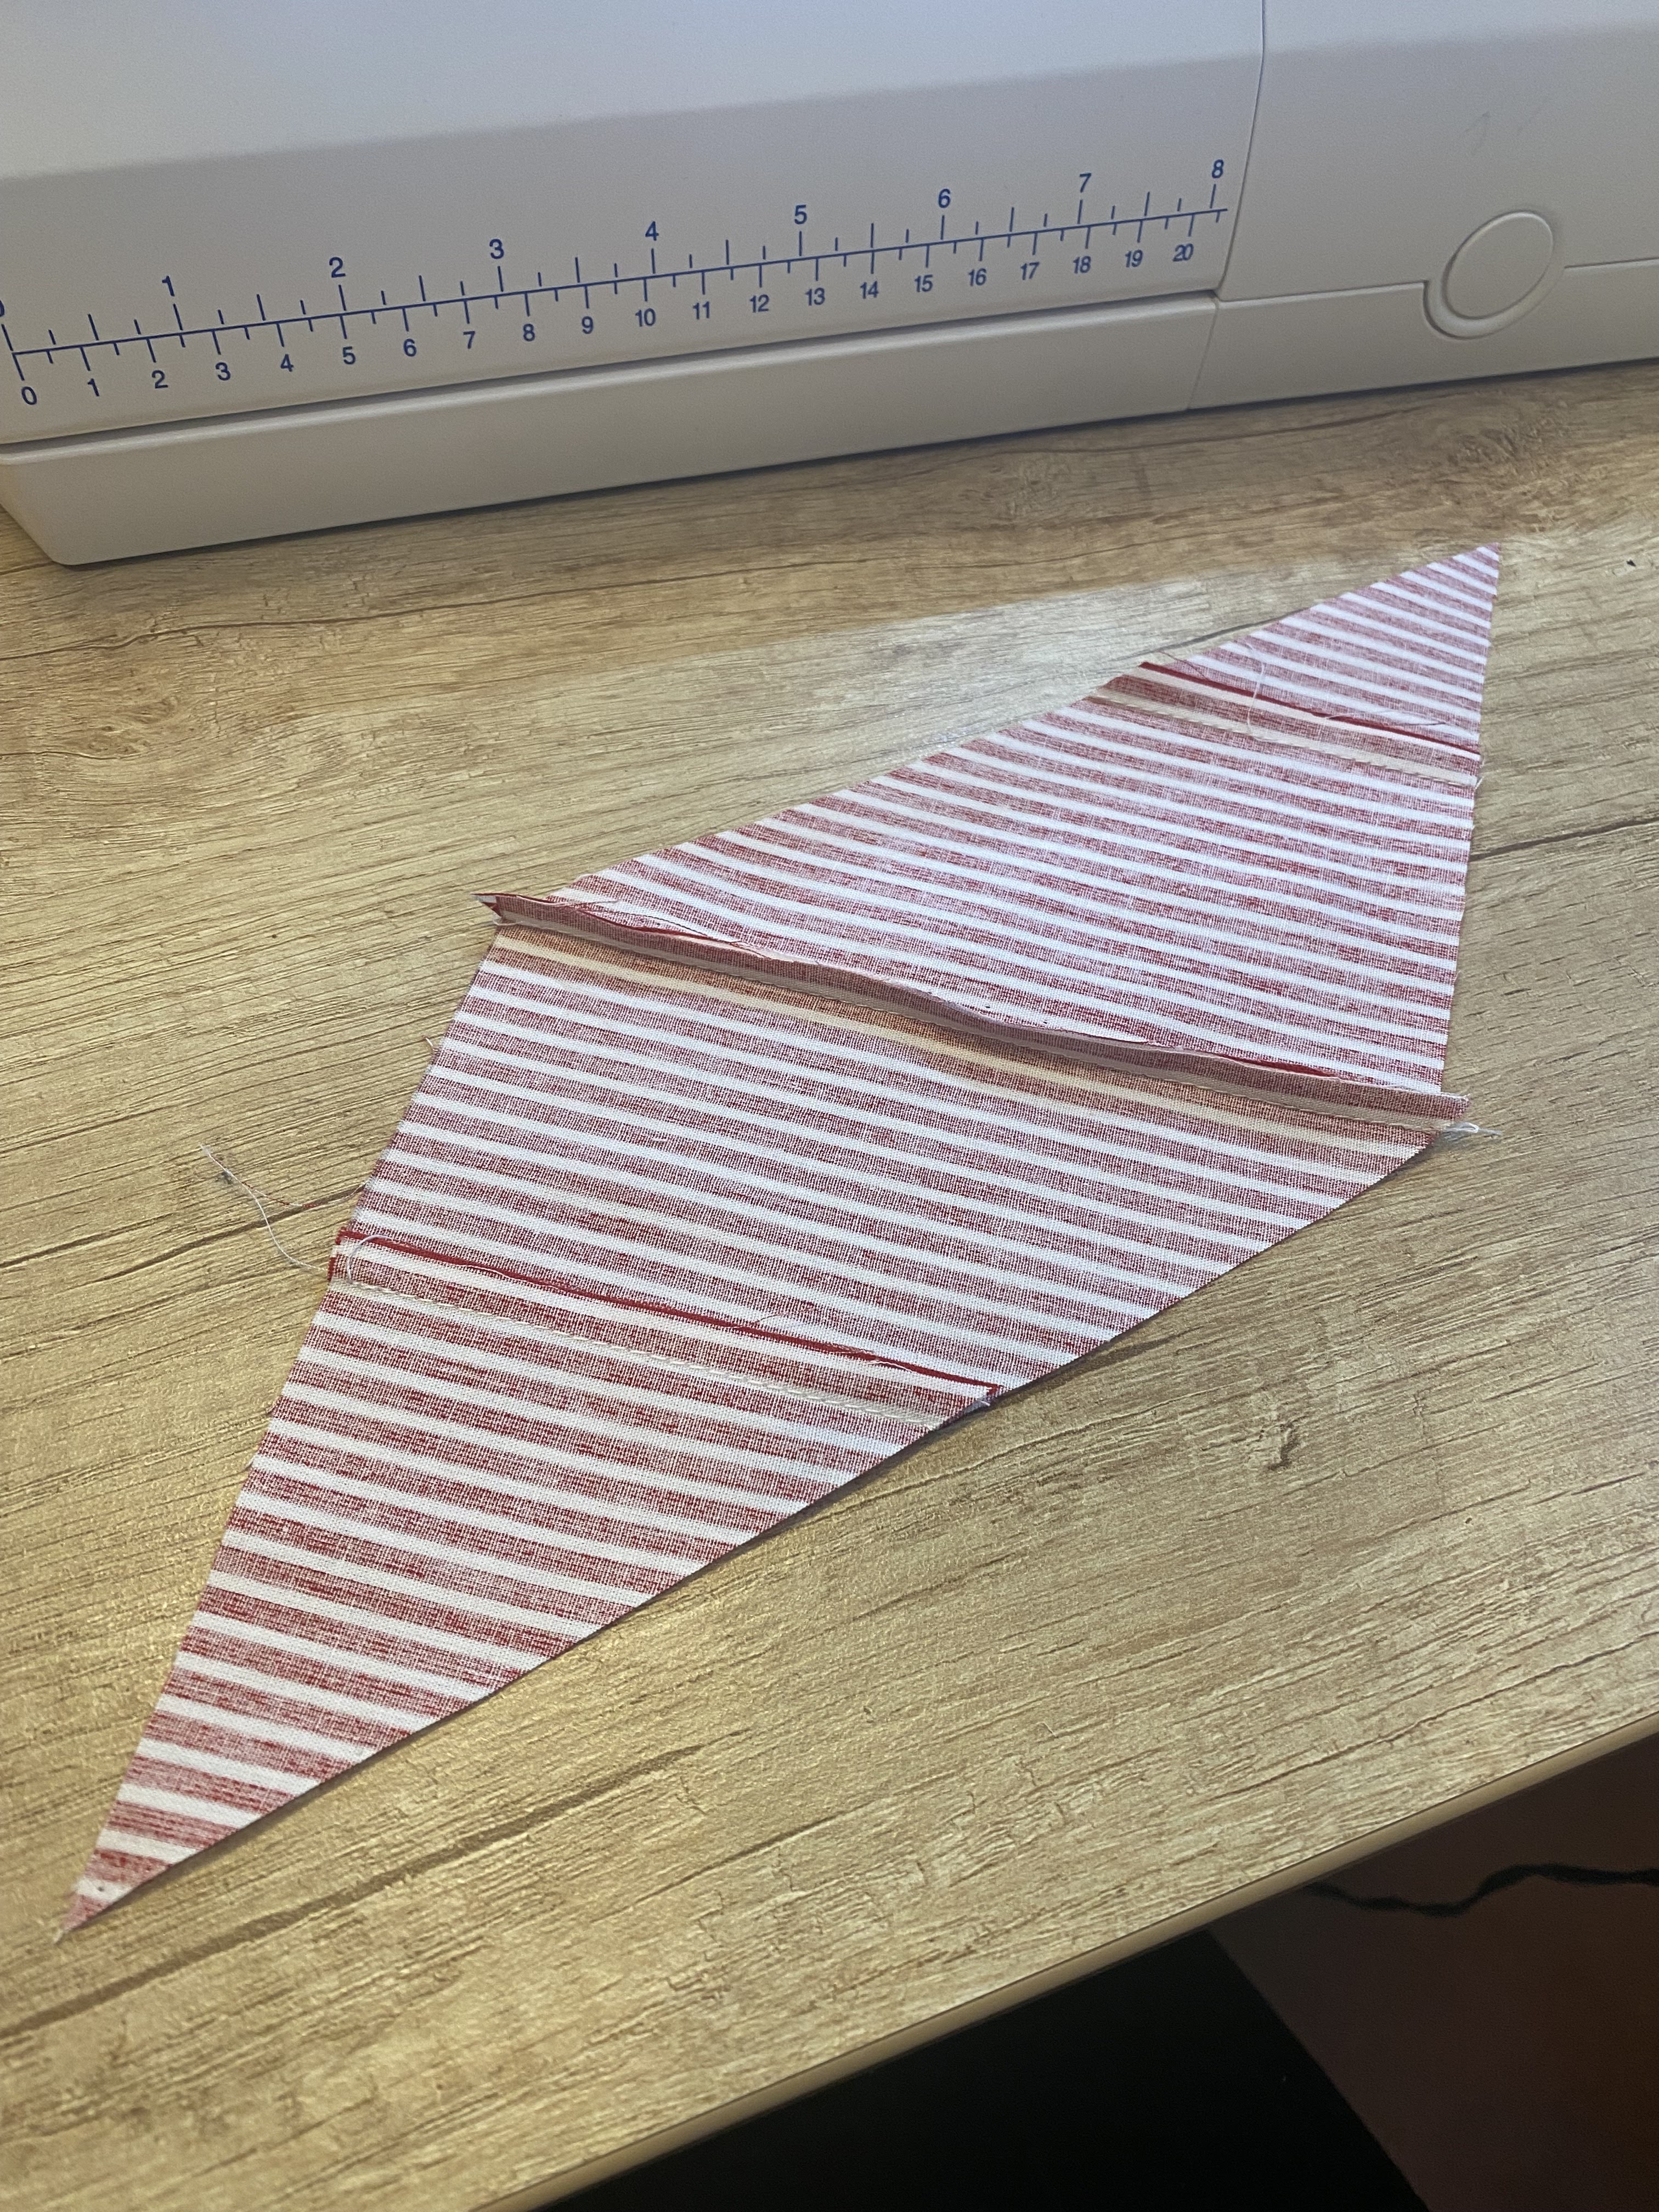
I had only 1 meter of this striped fabric. According to Burda I would need 1.50 m. I always do this and it works out OK because I carefully consider how to place all the pieces. The material is poplin. It cost me 9.90 EUR (for 1 m) in Svet metraže (Slovenia).

I used this video: https://www.youtube.com/watch?v=dbbzPO3qAYM  (from Saturday Night Stitch) for more information.

The changes I made: - size 38 (instead of 40)

- I shortened the length of the blouse (because of the material shortage)

- I shortened the sleeves a bit

- I made a bias binding out of scraps 

- I  used only 1 cm of seam allowance

I must say that everything is easy to make, the most difficult part for me was making buttonholes. I have a huge fear – nightmares – when I have to make buttonholes. I actually avoid making them. I use snap buttons or nothing. That's probably because I started sewing on my mum's old sewing machine (Yugoslavian danica bagat) when I was a student and it made horrible buttonholes. The machine was not bad at all but making buttonholes was a nightmare. This continued with my next sewing machine – it was bernina bernette 75 – but still ... half of the buttonhole was fine, the other half was horrible.

BUT !!! Now I have elna excellence 680 and it's great. (I'm not sponsored by anybody.) It's not bad. It's actually quite good. Buttonholes are scary because it's not easy to go back to undo them, you have to do them right the first time you do it, otherwise you just give yourself a headache.

buttonholes


a mess - but I was able to correct it


My husband commented that it looks like a McDonald's uniform ?!? Why? I checked it on Google, they don't have this kind of uniforms. I guess that stripes can look like a part of a uniform. So you have to style it right.

I plan to sell this blouse on my facebook page (which I still have to create, my non-existent page  😊) for 45 EUR. I quit my job 1.5 years ago and I started my small business (I'm self-employed). Most of the time I teach English (I work for a language school and I do private tutoring) which is fine but I really want to devote more time to my favourite hobby: sewing (my) clothes and then selling them. It is really difficult to start because I don't know what to sew for others but I have come to a conclusion that I will sew things according to my taste (and my stash, of course) because everything else is just overwhelming. I can't follow the trends because I don't even like them. I have my own style and taste. I don't know if anybody is going to buy anything from me BUT I don't really care. I can keep the clothes for myself or give them to my friends and relatives. I just enjoy the sewing process and that's enough for me.

Let the pictures talk.

weaving
It's a bit time consuming but it's worth it. At first I didn't do mirror image of the two pieces but I took the time to correct this. Because they have to be a mirror image of each other.


my bias binding: made of scraps 


the collar


Finishing


I will post a picture of myself wearing it.


Tuesday, July 23, 2024

Summertime blue-green dotted swimsuit

I have made 2 swimsuits so far, nothing to brag about, all black, very conservative. Here are some pictures.


The only interesting thing is that I have created 2 swimsuit bottoms for myself that I could digitalize and publish for others. They are high waisted but in 1 size only (size 38/40).
-----------

Now I have decided to make a one-piece swimsuit from Burda 06-2023-129, size 42. I have carefully observed pictures on the Russian Burda site and realized that this pattern is a good one. There were no complaints, only thumbs up. 

So this is what I made:


This is the original from Burda magazine: 06-2023-129


I don't know why I chose size 42 (instead of my usual size 40). It fits nicely, size 40 would be tighter, but this one is just fine. The neckline = cleavage is a bit loose when you are in the water swimming but it doesn't open or reveal anything, it's just loose. It's sewn with a twin needle, no elastic inserted in the neckline.

It is made of ?? (probably) lycra, elsthane, polyester. It's a proper swimsuit fabric I just don't know the exact material because I've had it for a year or two. I used elastic in the leg openings, arm and back openings but not in the neckline. Unfortunatelly, I don't have swimsuit elastic (?!), it's difficult to get it in Slovenia, so I used ordinary elastic. We'll see how long it will last.

I wanted foam cups in the front part, it's a must. But I couldn't get them so I made them myself out of a larger foam sheet. I used a Burda pattern from Burda 02-2011-113 (a corset). Here are some pictures.


I tried the sellotaped paper pattern on my bust. It was OK. I recommend doing all this if you want a feedback on the fit. 


The original:


I used this YouTube video on making foam cups:


Then I inserted them into the front part. At first I thought that I will have to sew them to a white mesh and then sandwich that between the front fabric and the lining (which is the same as the original fabric). BUT I realized I can sew them directly to the lining. Look at the pictures. I just had to be careful to place them to the part that is going to be inside (not outside).


I used a zig zag stitch. Foam cups are soft and it's OK done like that. I don't have to cut anything out. Everything is stretchy. How did I decide where to put foam cups? I just guessed. I placed them relatively well but not ideally. Because the front part twists and it's pulled back by back straps it's difficult to place them. It would be easier to decide after everything is finished but I think that can't be done. I mean, it's a step that has to be done now, not at the end.

The front part is lined with mesh fabric. The back is not lined at all. The front keyhole (opening): the right side of the fabric is sewn together, then turned inside out, topstitched with a twin needle and then continued as one fabric.


foam cups sewn on the inside fabric

the neckline opening sewn with twin needle (no elastic inserted)

The straps: are sewn right sides together, then turned inside out, then black elastic (2 cm) is inserted. I saw that from my daughter's store bought swimsuit (from Aldi = Hofer in Slovenia, which was only 3.45 EUR ?!? WHAT? Who can sew swimsuits that cheap? They were made in China. You can't make swimsuit this cheap in Europe. What do I complain about, I bought 2 of them for my 6-year old daughter.)
I have also sewed with straight stitch right along the centre of the strap, from top to bottom, to keep the elastic from wiggling. The straight stitch, of course, snapped when used every day at the seaside, so I have to correct that.


Oh, and now my tips and advice:
- I always pin everything together and then I handsew layers of fabric together (with quick, wide stitches) to stay in place when I do the real sewing, for me it works wonders. Nothing moves. 

- 2 YouTube videos I recommend: 

2. sewing (leg, arm) openings in a swimsuit with elastic:   https://www.youtube.com/watch?v=sveGDtF_20U&t=836s

Sewing elastic in leg openings:


Conclusion:
It's a great pattern, there weren't a lot of alterations. Foam cups are a must for me. One-piece swimsuit is quite good to make and to wear. Well, it's not practical when you go to the loo. The more swimwear you make, the more you perfect your knowledge and skills.