I had this idea for some
time in my head, so I just had to make it real.
My idea is
actually very simple: 1) take a simple basic pattern of a T-shirt/ blouse (woven
fabric like cotton or linnen) and 2) then take out of the front part a rectangular
panel; 3) this rectangular panel is then used for smocking – it has to be
transformed, of course, it has to be lengthened. For this type of pattern (I
call it arrows- arrowed pleates) it has to be a lot longer and just a bit wider. So when you
make the smocking it shrinks considerably in length and a bit in width.
I'll give you some
numbers. My rectangular panel was: 100 cm x 32 cm which was
smocked by using a Canadian/ American smocking. And out of this panel I got a fully smocked piece of 41 cm x 25,5 cm - that was the outcome. I think that I was expecting to get 43 x 30 cm. It wasn't too worrying because I just continued from that point on and adjusted other parts of the blouse.
I used a very simple white
cotton (for making embroidered
tablecloths) because I was too stingy to use linen. I wasn't sure if it would
turn out OK. I thought that it might be a mess. Luckily it wasn't. After the
smocked part was done, I cut out the rest of the parts. There were minor
issues: the smocked part shrank a bit more (but not a lot more) than
expected/ calculated, the back part was shorter than the front part (?! Jeez),
so I just had to add some more fabric there, the sleeves were a bit bigger than
the armholes so I had to make some pleats – but, nothing that couldn't be solved.
Like I said: I made the front smocked panel first and after that I cut out the rest of the front parts: upper part, left and right part.
The process of making:
Then I did the same for the back part. Pretty straightforward, right? So, again, when I have the smocked panel, I just need the upper part and the left and right parts to cut and then to sew next to the back panel.
The sleeves had to have small pleats - but - no big deal.
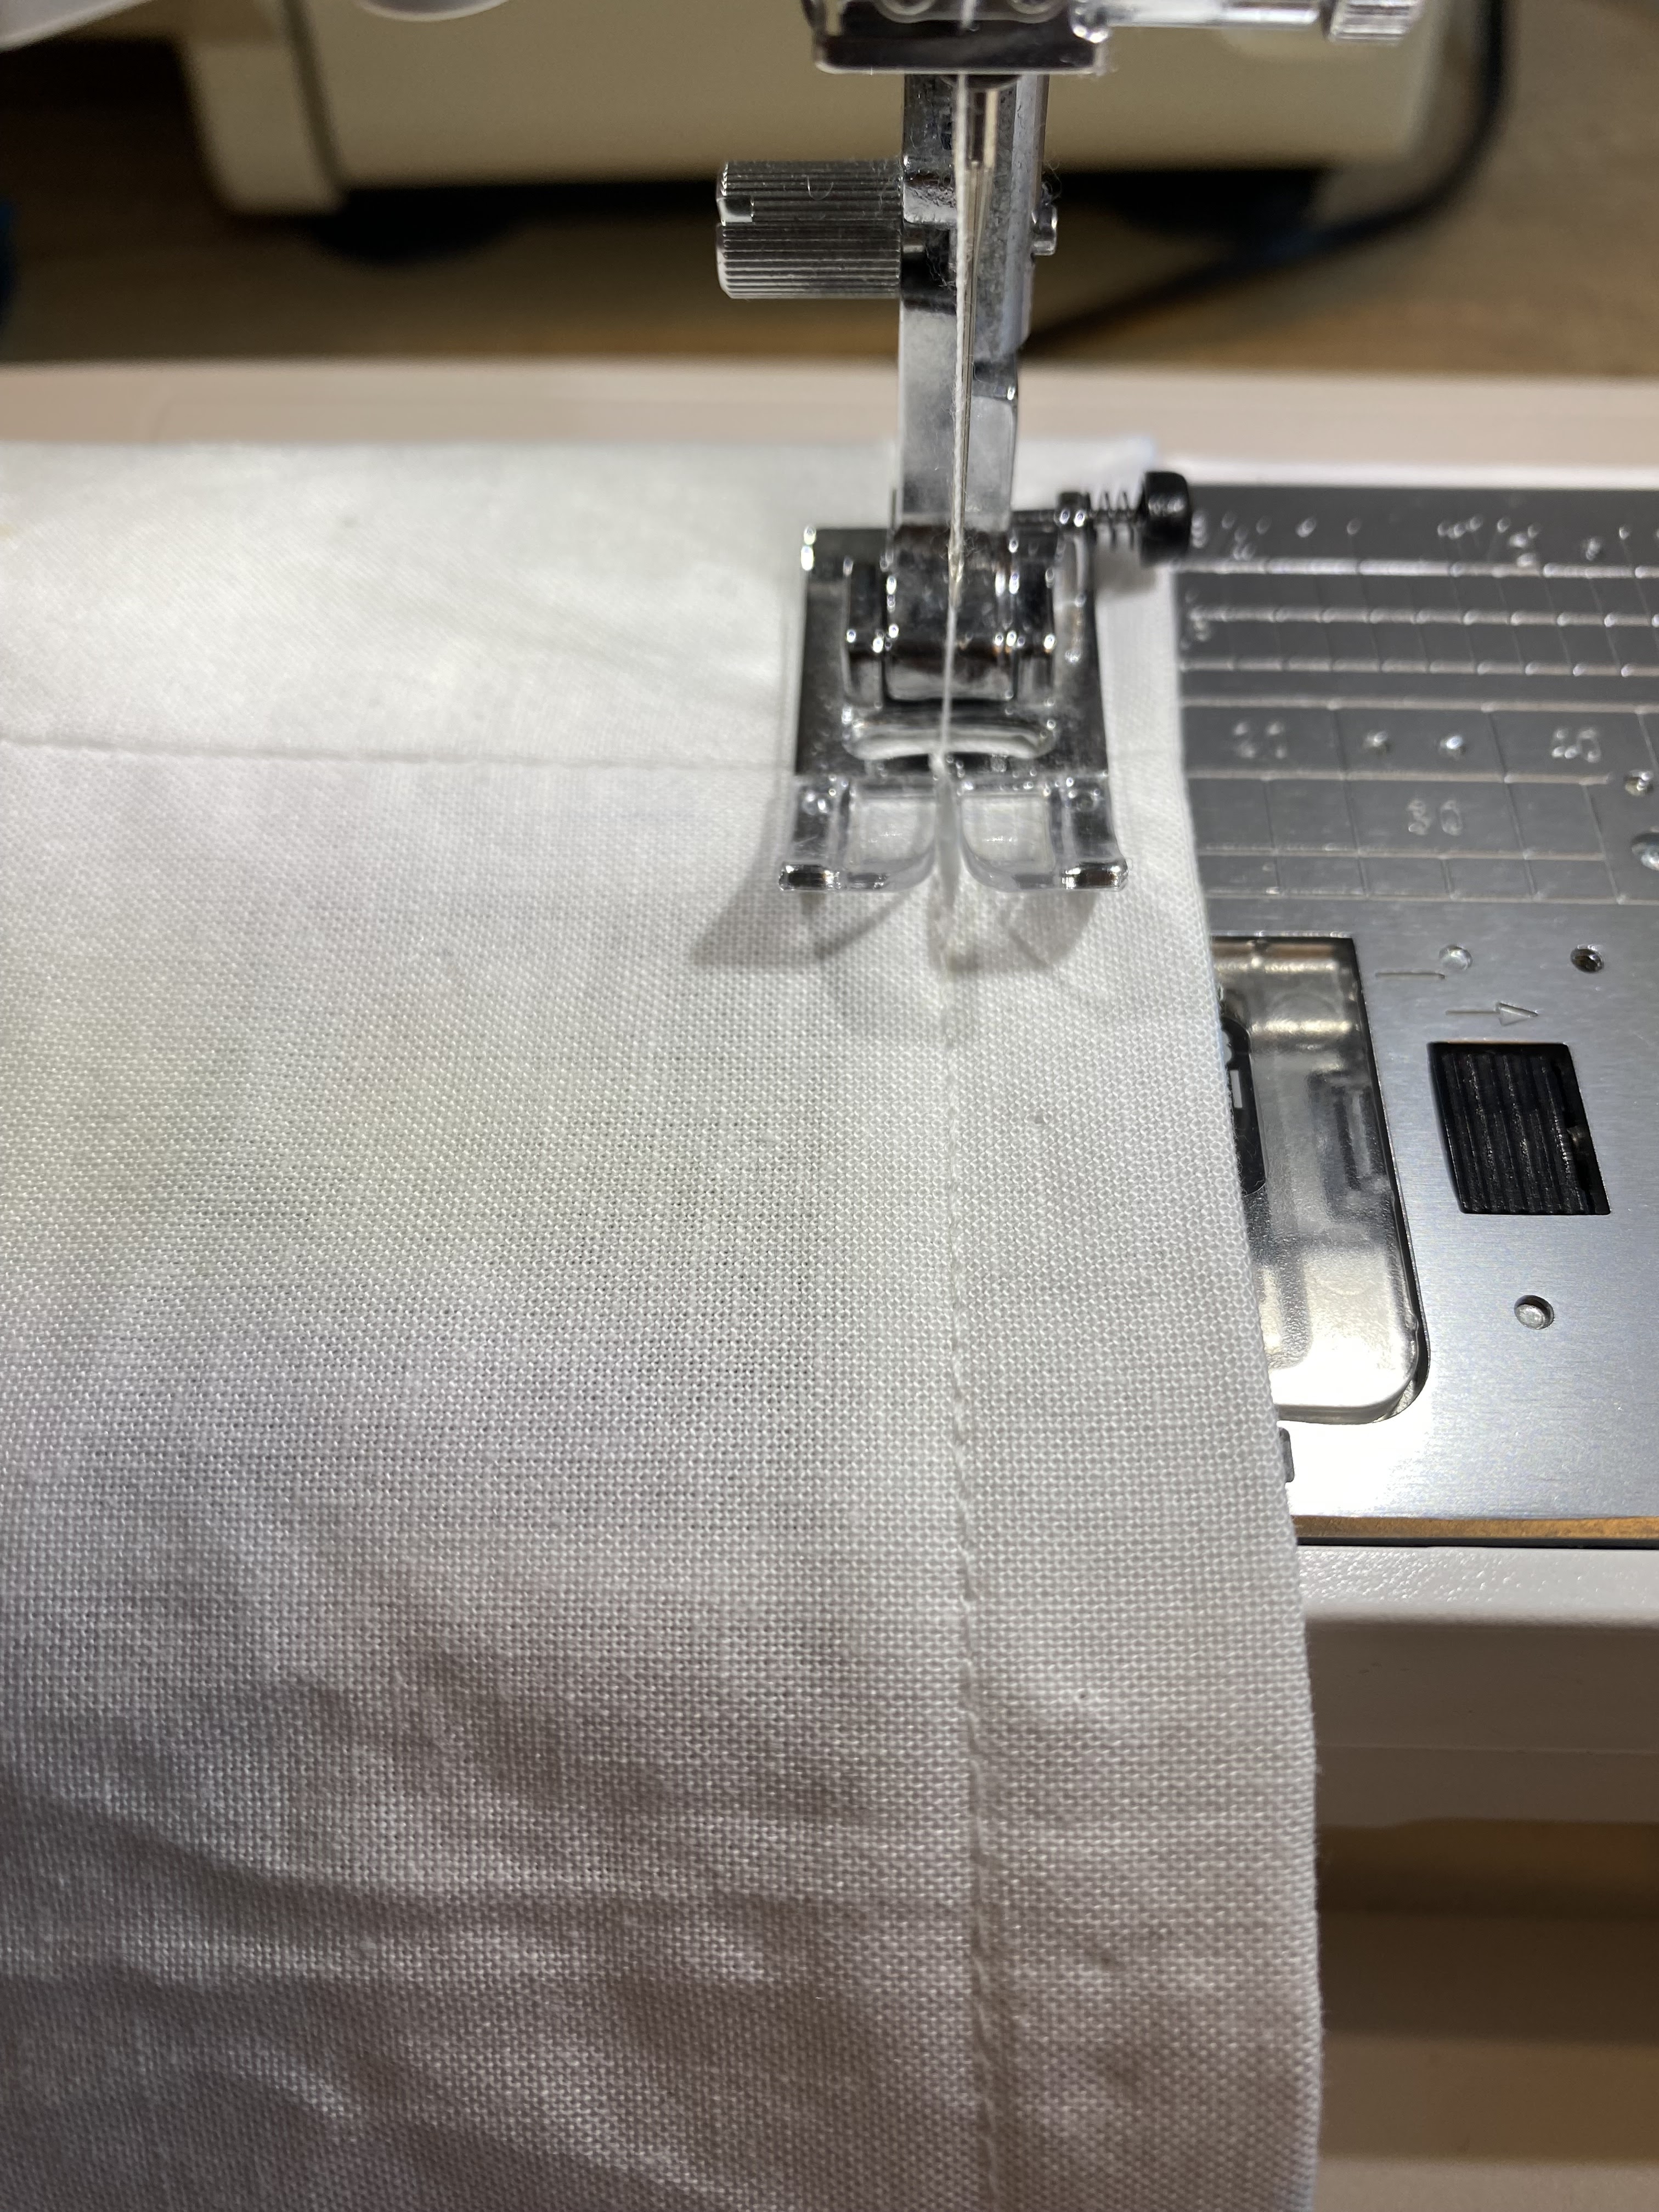
You can see the material up close - basic cotton.
My favourite link for Canadian smocking is by far: Sewing by Anita on YouTube. I love her videos. They present smocking as a simple technique.
I had a small issue, as I mentioned above, that the back part was shorter than the front part when stitching everything together so I just added a strip of fabric:
Problem solved: strip of fabric is added to the back.
All the pictures shown are before washing the garment. I have ironed it several times but I still have to wash it. So you can even see chalk markings (in blue) from the wrong side of fabric (because the fabric is so white).
When I began imagining and constructing this blouse I knew that the smocked pattern would be ironed a lot, even though it is kind of 3D. Hence the cotton material.
I'm not sure if I should attach the arrowed pleates discreetly at certain points. I have considered topstitching but I think it would look awful because the pattern is relatively even but not perfectly even. And topstitching it would just show/ underline every uneven detail. I have topstitched side seams of the smocked panel. So ironing the blouse a lot is another solution.
Neckline: was made with my own bias band. I do it my way, of course, I make bias tape and just sandwich the fabric between the halves of the bias tape. I stitch everything by hand and then topstitch everything with a sewing machine.
Bottom seam of the shirt: is still undone to this very moment (you can see it in the pictures if you look closely) but I will probably finish it with bias binding - like the neckline.
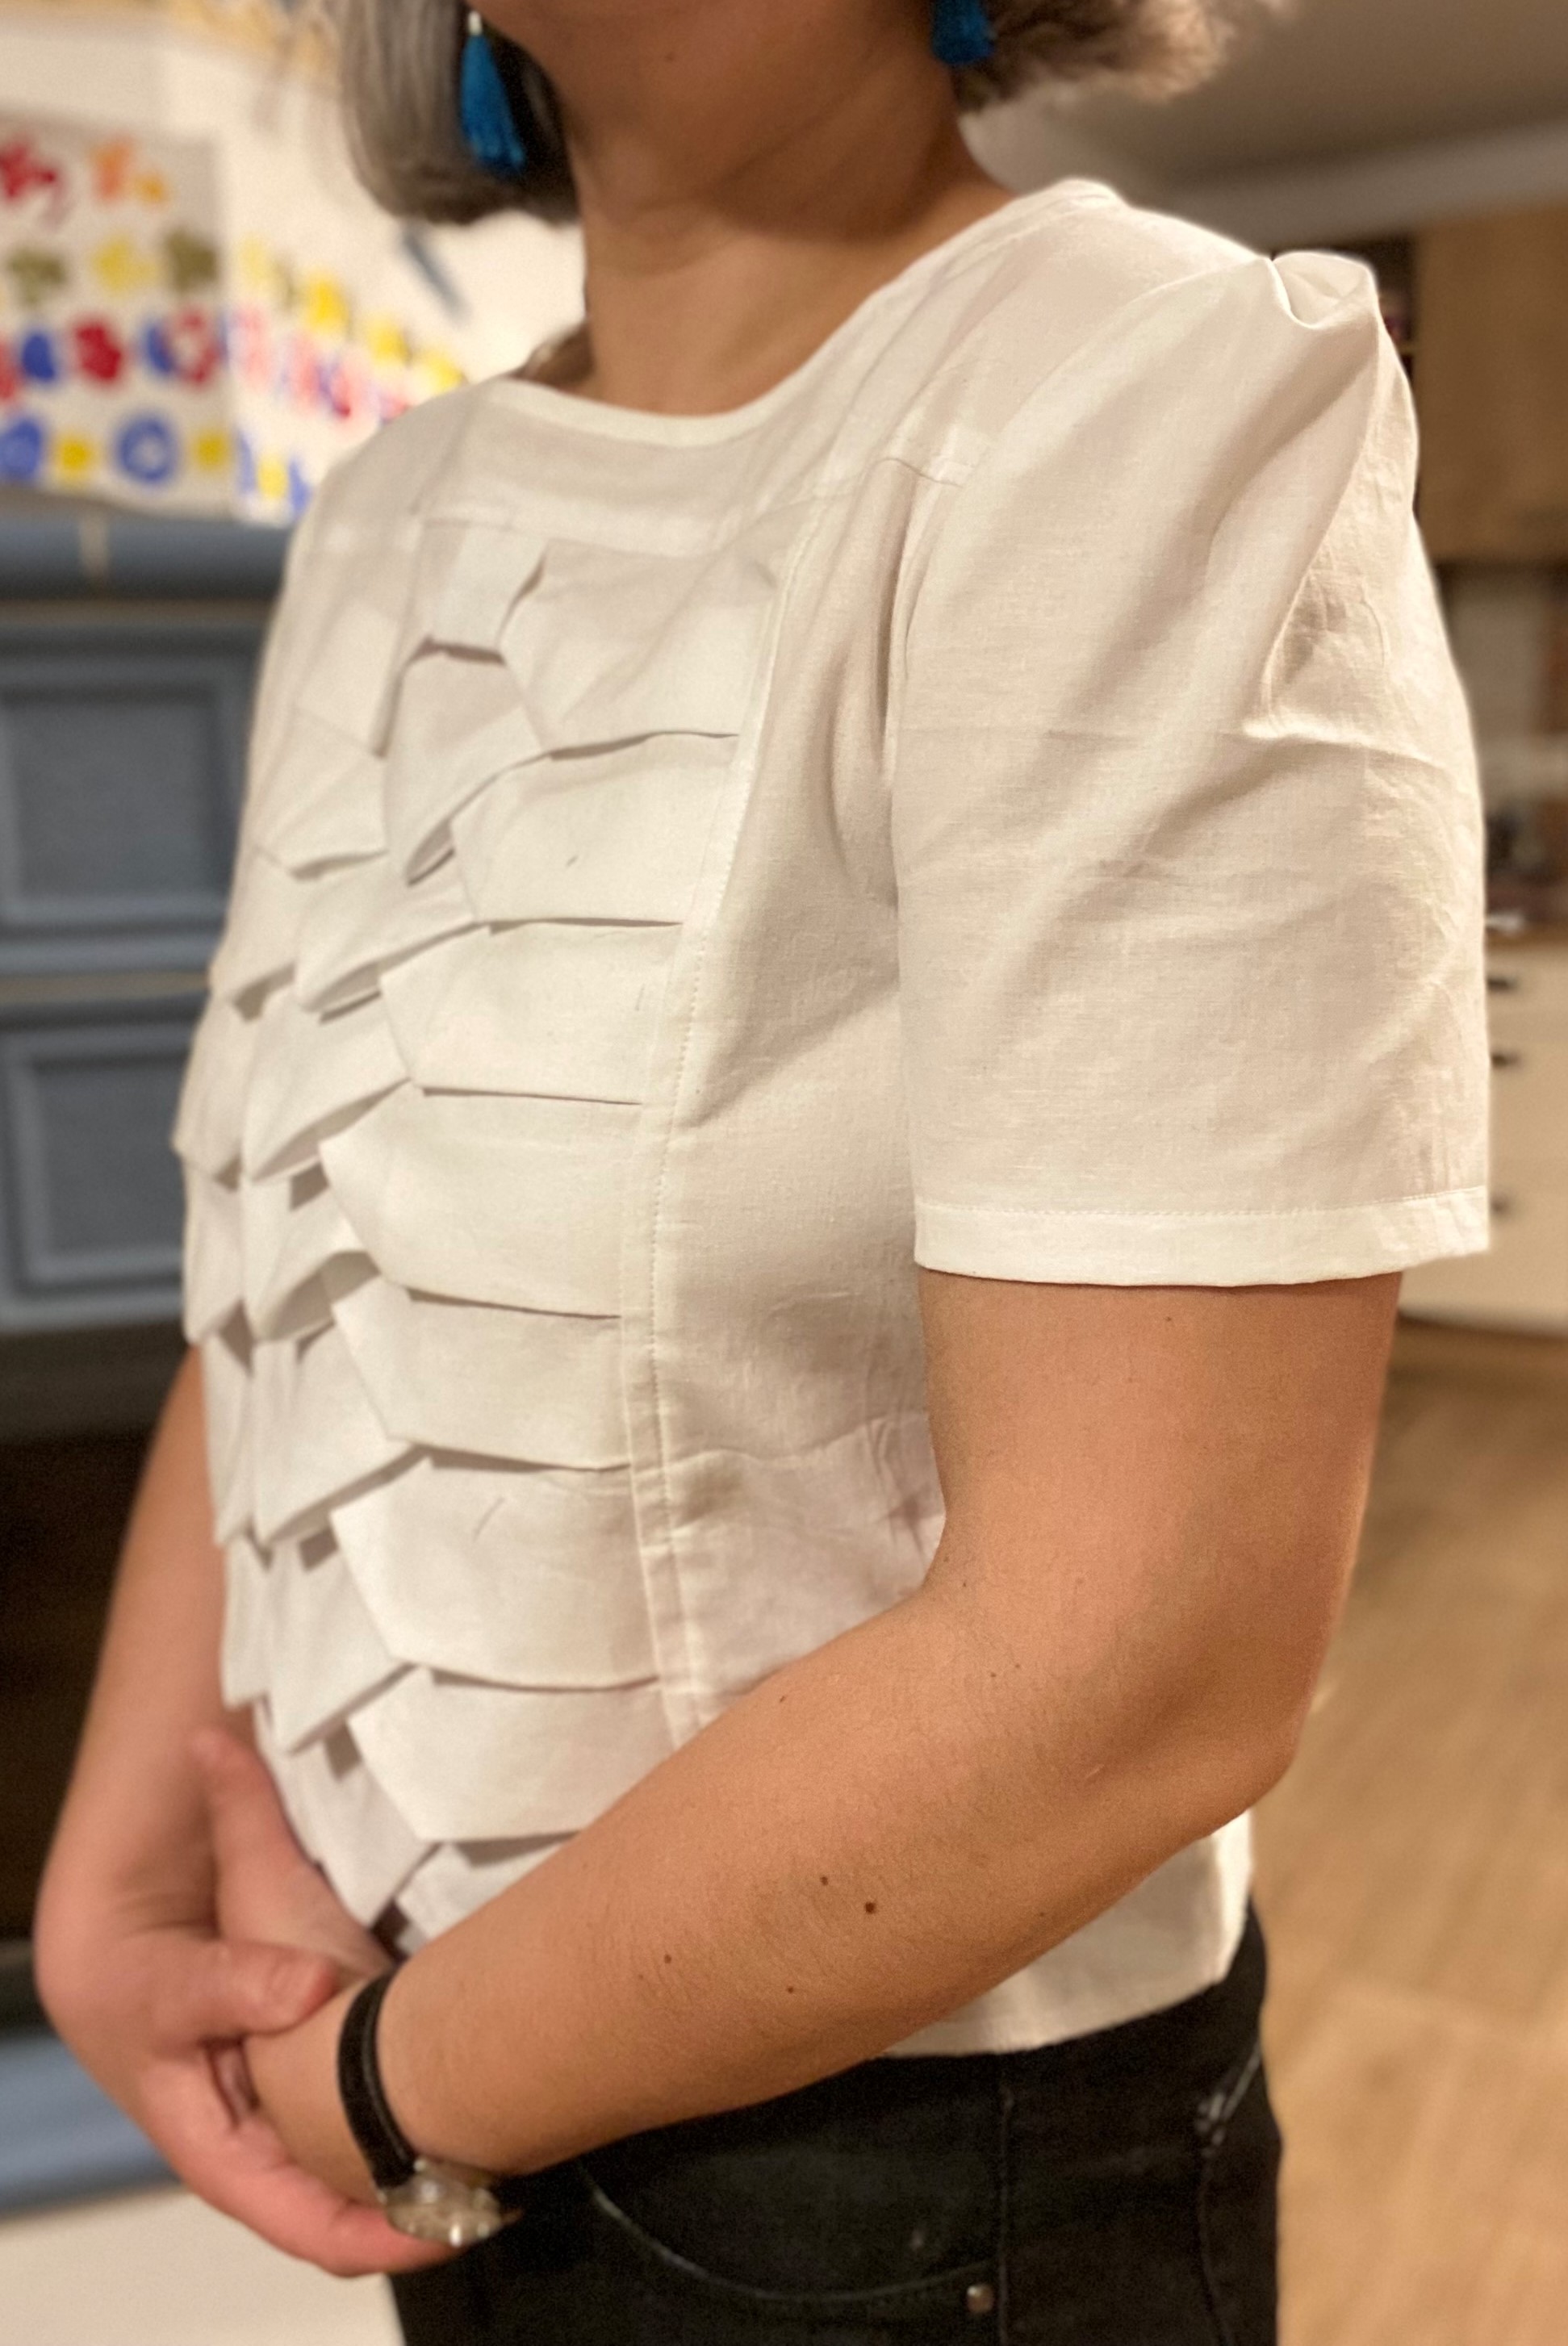
The blouse seems a bit boxy. It has no zipper. I pull it over my head. This is possible because I don't have broad shoulders or bust area. It sits nicely. It's a bit on the short side. I considered making it more tailored/ fitted and inserting a zipper but I decided to first see how it looked without it. And I have to wash it which might shrink it a bit.
I have to admit that this front part is a bit bulky and after wearing it for 8 hours it can get messy - wrinkled, crumpled. But I just gently straighten everything with my hands and wait to get an iron in my hands.
And that's about it. I think I have covered everything I wanted to say.
I'm so excited, I just can't hide it, I'm about to lose control and I think I like it ...
Yep, I am really excited about this one. It's one of my uni-q-top ideas. It's a prototype and not at all bad for a prototype, I dare say. It could be waaay worse and it's not. It's wearable, it looks good, it's slightly sexy with that cold-shoulder style.
Our dog is excited too. It's great taking photos with him because he's so crazy and jumps and moves like a madman - a mad dog.
I found my inspiration, of course, where else than, on Pinterest. My inspiration was this:
This technique is called (CANADIAN) SMOCKING and is mainly used for making cushion covers. I love using something so specific for something more unusual (if you know what I mean). I really like the architectural construction of these patterns.
Very useful and simple YouTube video is the following:
Only for cushions? - I don't think so.
I took a pattern from BurdaStyle 5/ 2019; mod. 124; size 44. I wanted it to be a simple sweater style with a slightly sexy touch.
Sewing process in pictures:
1. I always make a paper pattern carefully.
I made the pattern for 10 cm wider (exactly in the middle) but forgot to make it about 10 cm longer - so I had to add the fabric at the bottom.
2. Drawing the grid: 3 cm x 3 cm (in my case). But first, taping it with masking tape to the table. I used blue tailor's chalk and very soft pencil (B- something) and a long ruler.
3. Draw the braid pattern in the grid. !!! Start at the bottom of the shirt and turn it upside down. (Otherwise the points of the braids will go down, not up. Well, try it on a piece of fabric.)
(MAKING MISTAKES: This picture is wrong ↴ : you should start at the bottom of the shirt and turn it upside down.)
MAKING MISTAKES: I started doing it wrongly - you see that the points of the braids go down instead of up, so I quickly changed that when realizing my mistake. ↴
4. The wrong side of the garment (the inside): I think that here we can see how much of extra fabric we have to add for 1 braid - 6 cm ?! I'm trying to use my maths skills, I'm not at all sure.
5. First panel is finished - the front part.
6. I haven't made the braids all the way up to the shoulder, I have actually done that after everything was finished - really, when the sweater was all finished, then I tied a couple of knots more - and it was great. (But draw/ mark everything beforehand because you cannot do marking later.)
7. Making the neckline - my usual way of making it. Too lazy to explain. I use a 4 cm wide and --- cm long band. I sew it on the front and then turn it over the edge and sew it in place with a twin needle.
8. Inserting a sleeve:
My findings (when making this garment) are the following:
❃ you have to calculate how much more fabric you need for making this kind of pattern - at least approximately - (for this I think that 70-75 % more - yep, a lot);
(I admit I didn't calculate exactly. I used a pattern size 44 (I normally use size 40) and added 10 cm right in the middle of the front and back part and also the sleeve part. But as you see it was OK. But you know, the pattern of this sweater is anyway quite baggy.)
❃ the clothes should be loose - not tight (tight-fitting clothes would probably distort Canadian smocking pattern)
❃ making Canadian smocking is actually very, very easy BUT putting the smocked garment together is a more difficult part; let me re-pharase that: the most difficult part of this shirt were actually (as always) the finishing touches: making the neckline, inserting the sleeves, finishing the sleeves, finishing the bottom edge etc. - those things that are always a bit more difficult to do.
❃ viscose jersey (a light one) works surprisingly well; it's easy to work with, and it stands/ looks great BUT look at my next point ↴
❃ How is it going to behave after washing? I have no idea. Are the knots going to hold the pressure? I have no idea. We'll see. Is the chalk and pencil drawing going to wash off? I hope so. I'll see all of these when I wash the sweater - it hasn't been washed yet.
❃ I drew a 3 cm x 3 cm grid. Drawing on viscose jersey was surprisingly easy. It didn't move. It didn't curl up. (It was so easy that I forgot to use masking tape for the last sleeve because I was hurrying and I noticed this only when I was half done.)
❃ I handstitched a lot of things before doing machine sewing, but that's really always my usual modus operandi. I handstitched all kinds of folds, because you get a lot of folds because of Canadian smocking. It is worth it - everything stays in place when you do the final machine sewing.
❃ Doing so much of Canadian smocking in one shirt might be an overkill :) . What do you think? I could do just the front or just the sleeves, or just the front and the back with normal sleeves. The variations are endless.
--------
Gosh, this is a long post, but I am very excited about this topic. I plan to quit my job as a teacher because I'm kind of fed up with teaching after 14 years of doing it and I really want to just sew clothes for a living. I can't even imagine if anything like this is remotely possible. But I'm hopeful.






.JPG)


