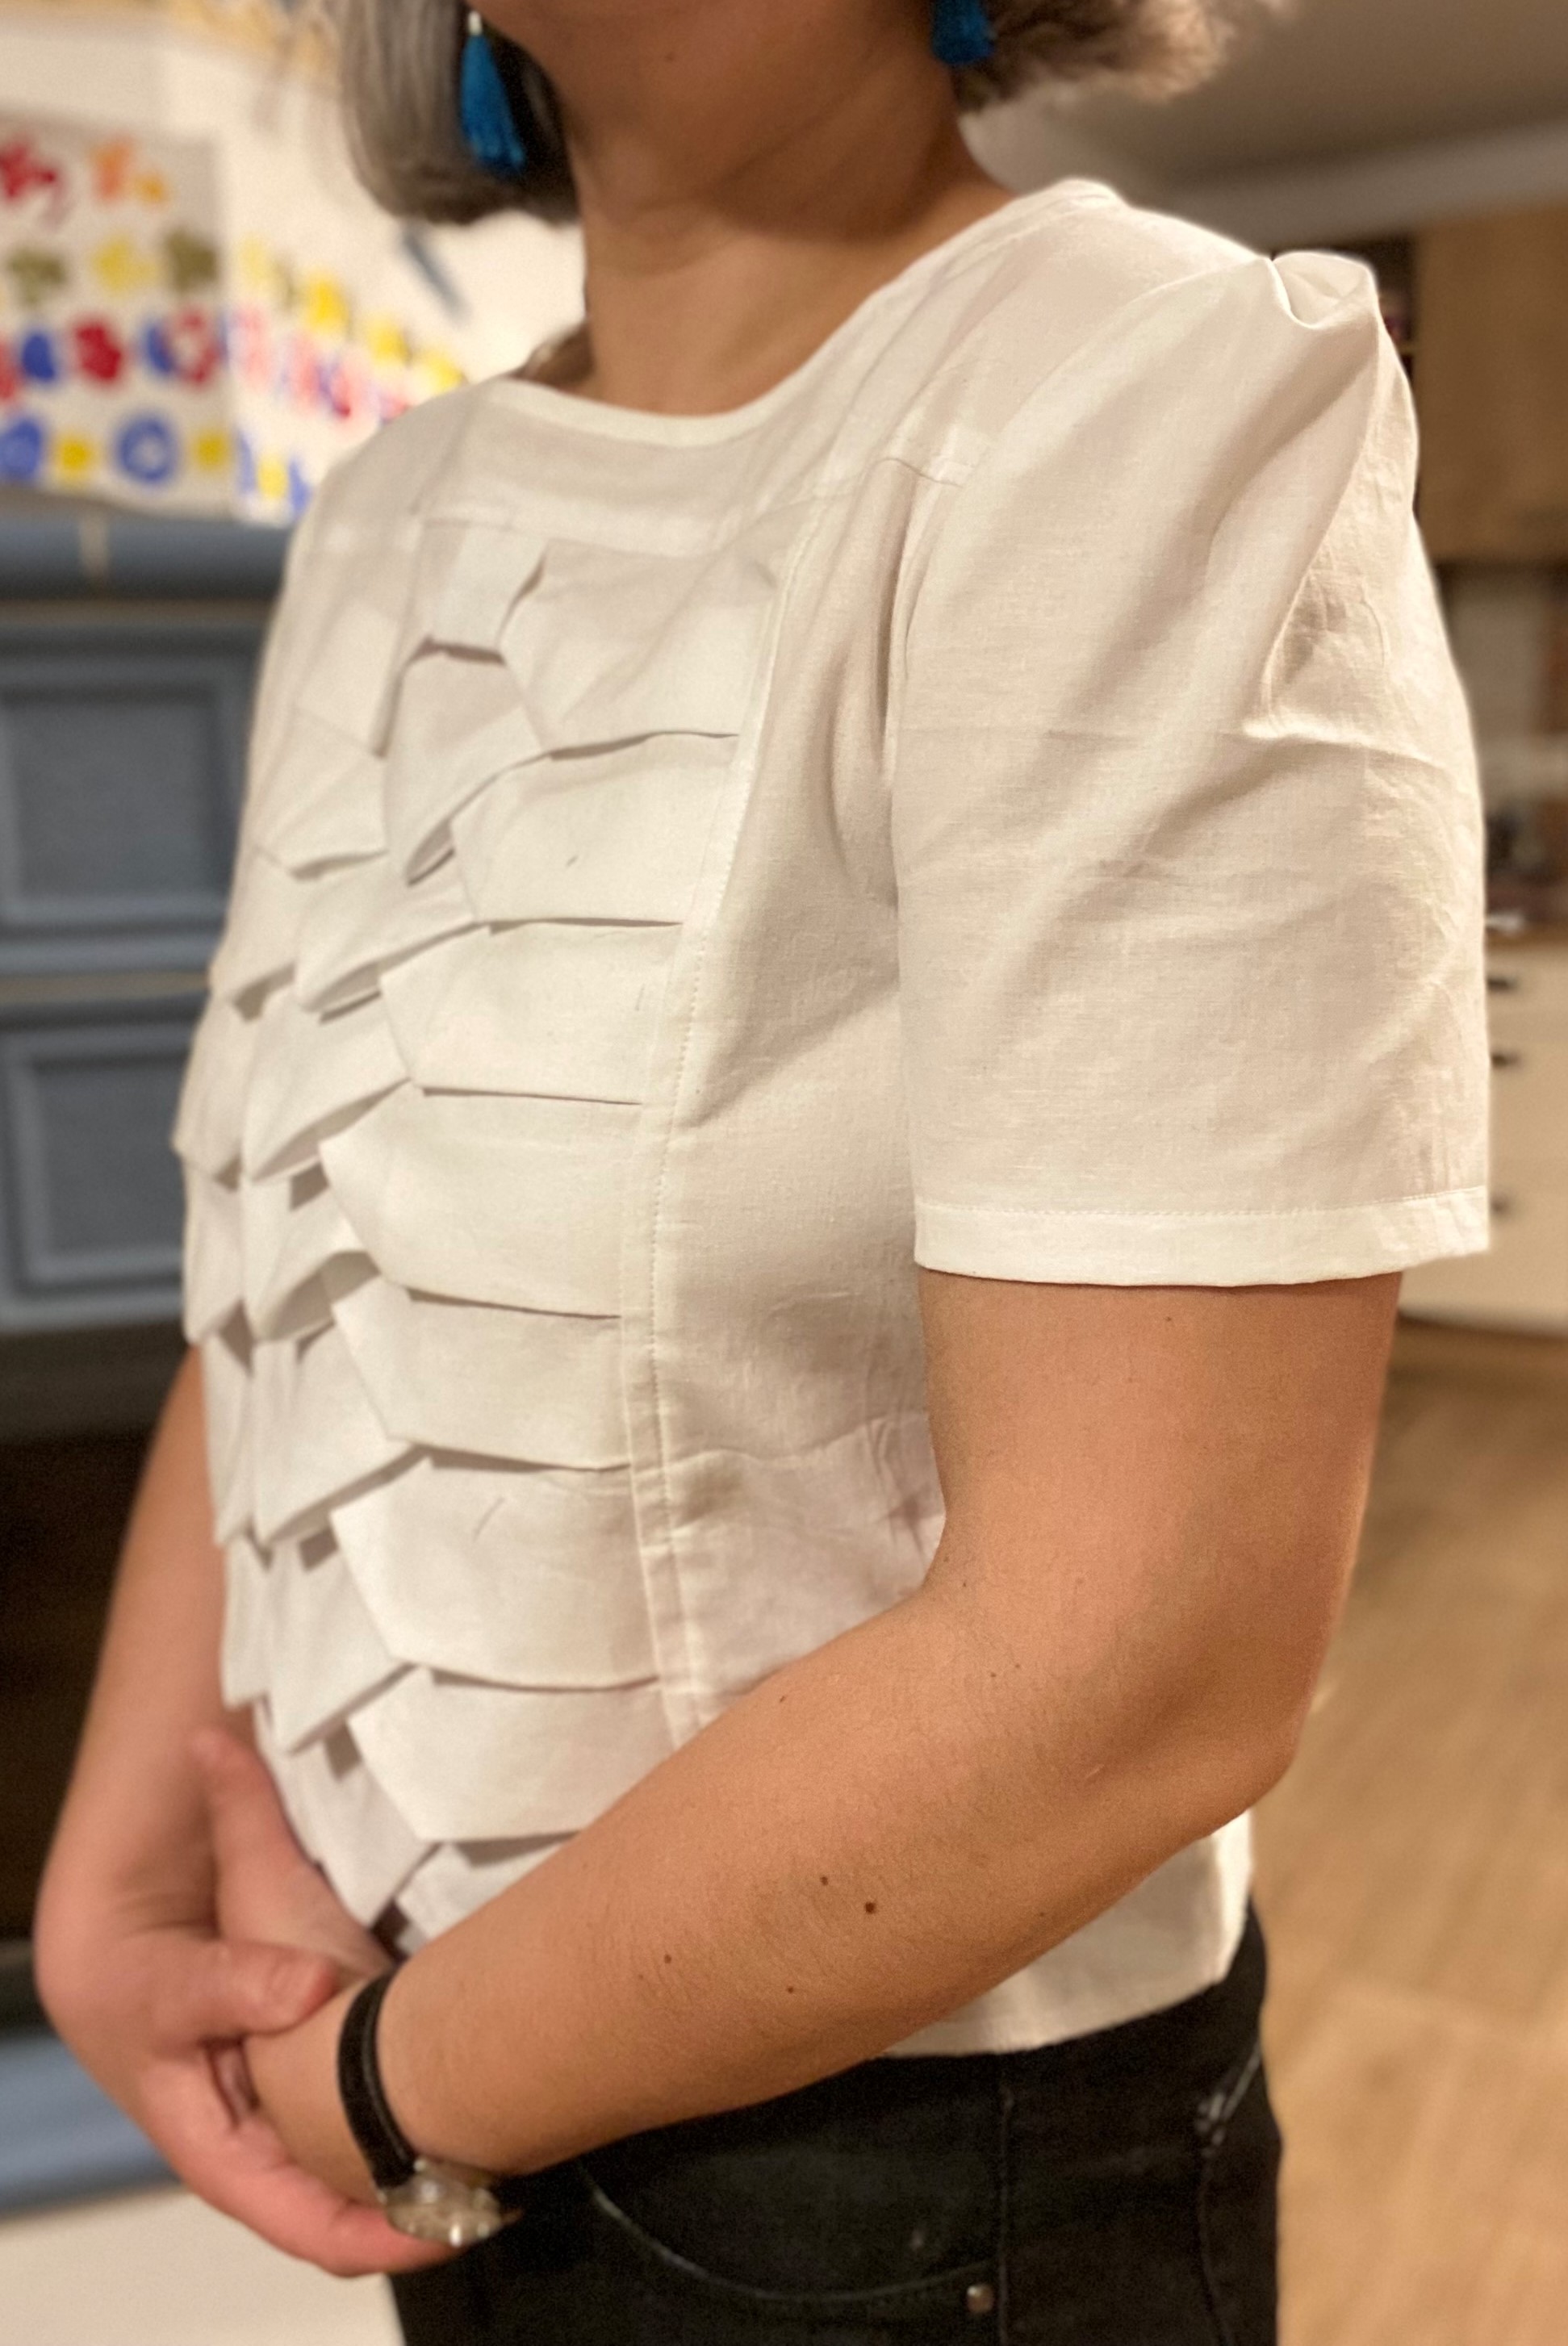
Yep, I'm still obsessed with smocking.
I had this idea for some
time in my head, so I just had to make it real.
My idea is
actually very simple: 1) take a simple basic pattern of a T-shirt/ blouse (woven
fabric like cotton or linnen) and 2) then take out of the front part a rectangular
panel; 3) this rectangular panel is then used for smocking – it has to be
transformed, of course, it has to be lengthened. For this type of pattern (I
call it arrows- arrowed pleates) it has to be a lot longer and just a bit wider. So when you
make the smocking it shrinks considerably in length and a bit in width.
I'll give you some
numbers. My rectangular panel was: 100 cm x 32 cm which was
smocked by using a Canadian/ American smocking. And out of this panel I got a fully smocked piece of 41 cm x 25,5 cm - that was the outcome. I think that I was expecting to get 43 x 30 cm. It wasn't too worrying because I just continued from that point on and adjusted other parts of the blouse.
I used a very simple white
cotton (for making embroidered
tablecloths) because I was too stingy to use linen. I wasn't sure if it would
turn out OK. I thought that it might be a mess. Luckily it wasn't. After the
smocked part was done, I cut out the rest of the parts. There were minor
issues: the smocked part shrank a bit more (but not a lot more) than
expected/ calculated, the back part was shorter than the front part (?! Jeez),
so I just had to add some more fabric there, the sleeves were a bit bigger than
the armholes so I had to make some pleats – but, nothing that couldn't be solved.
Like I said: I made the front smocked panel first and after that I cut out the rest of the front parts: upper part, left and right part.
The process of making:
Then I did the same for the back part. Pretty straightforward, right? So, again, when I have the smocked panel, I just need the upper part and the left and right parts to cut and then to sew next to the back panel.
The sleeves had to have small pleats - but - no big deal.
 |
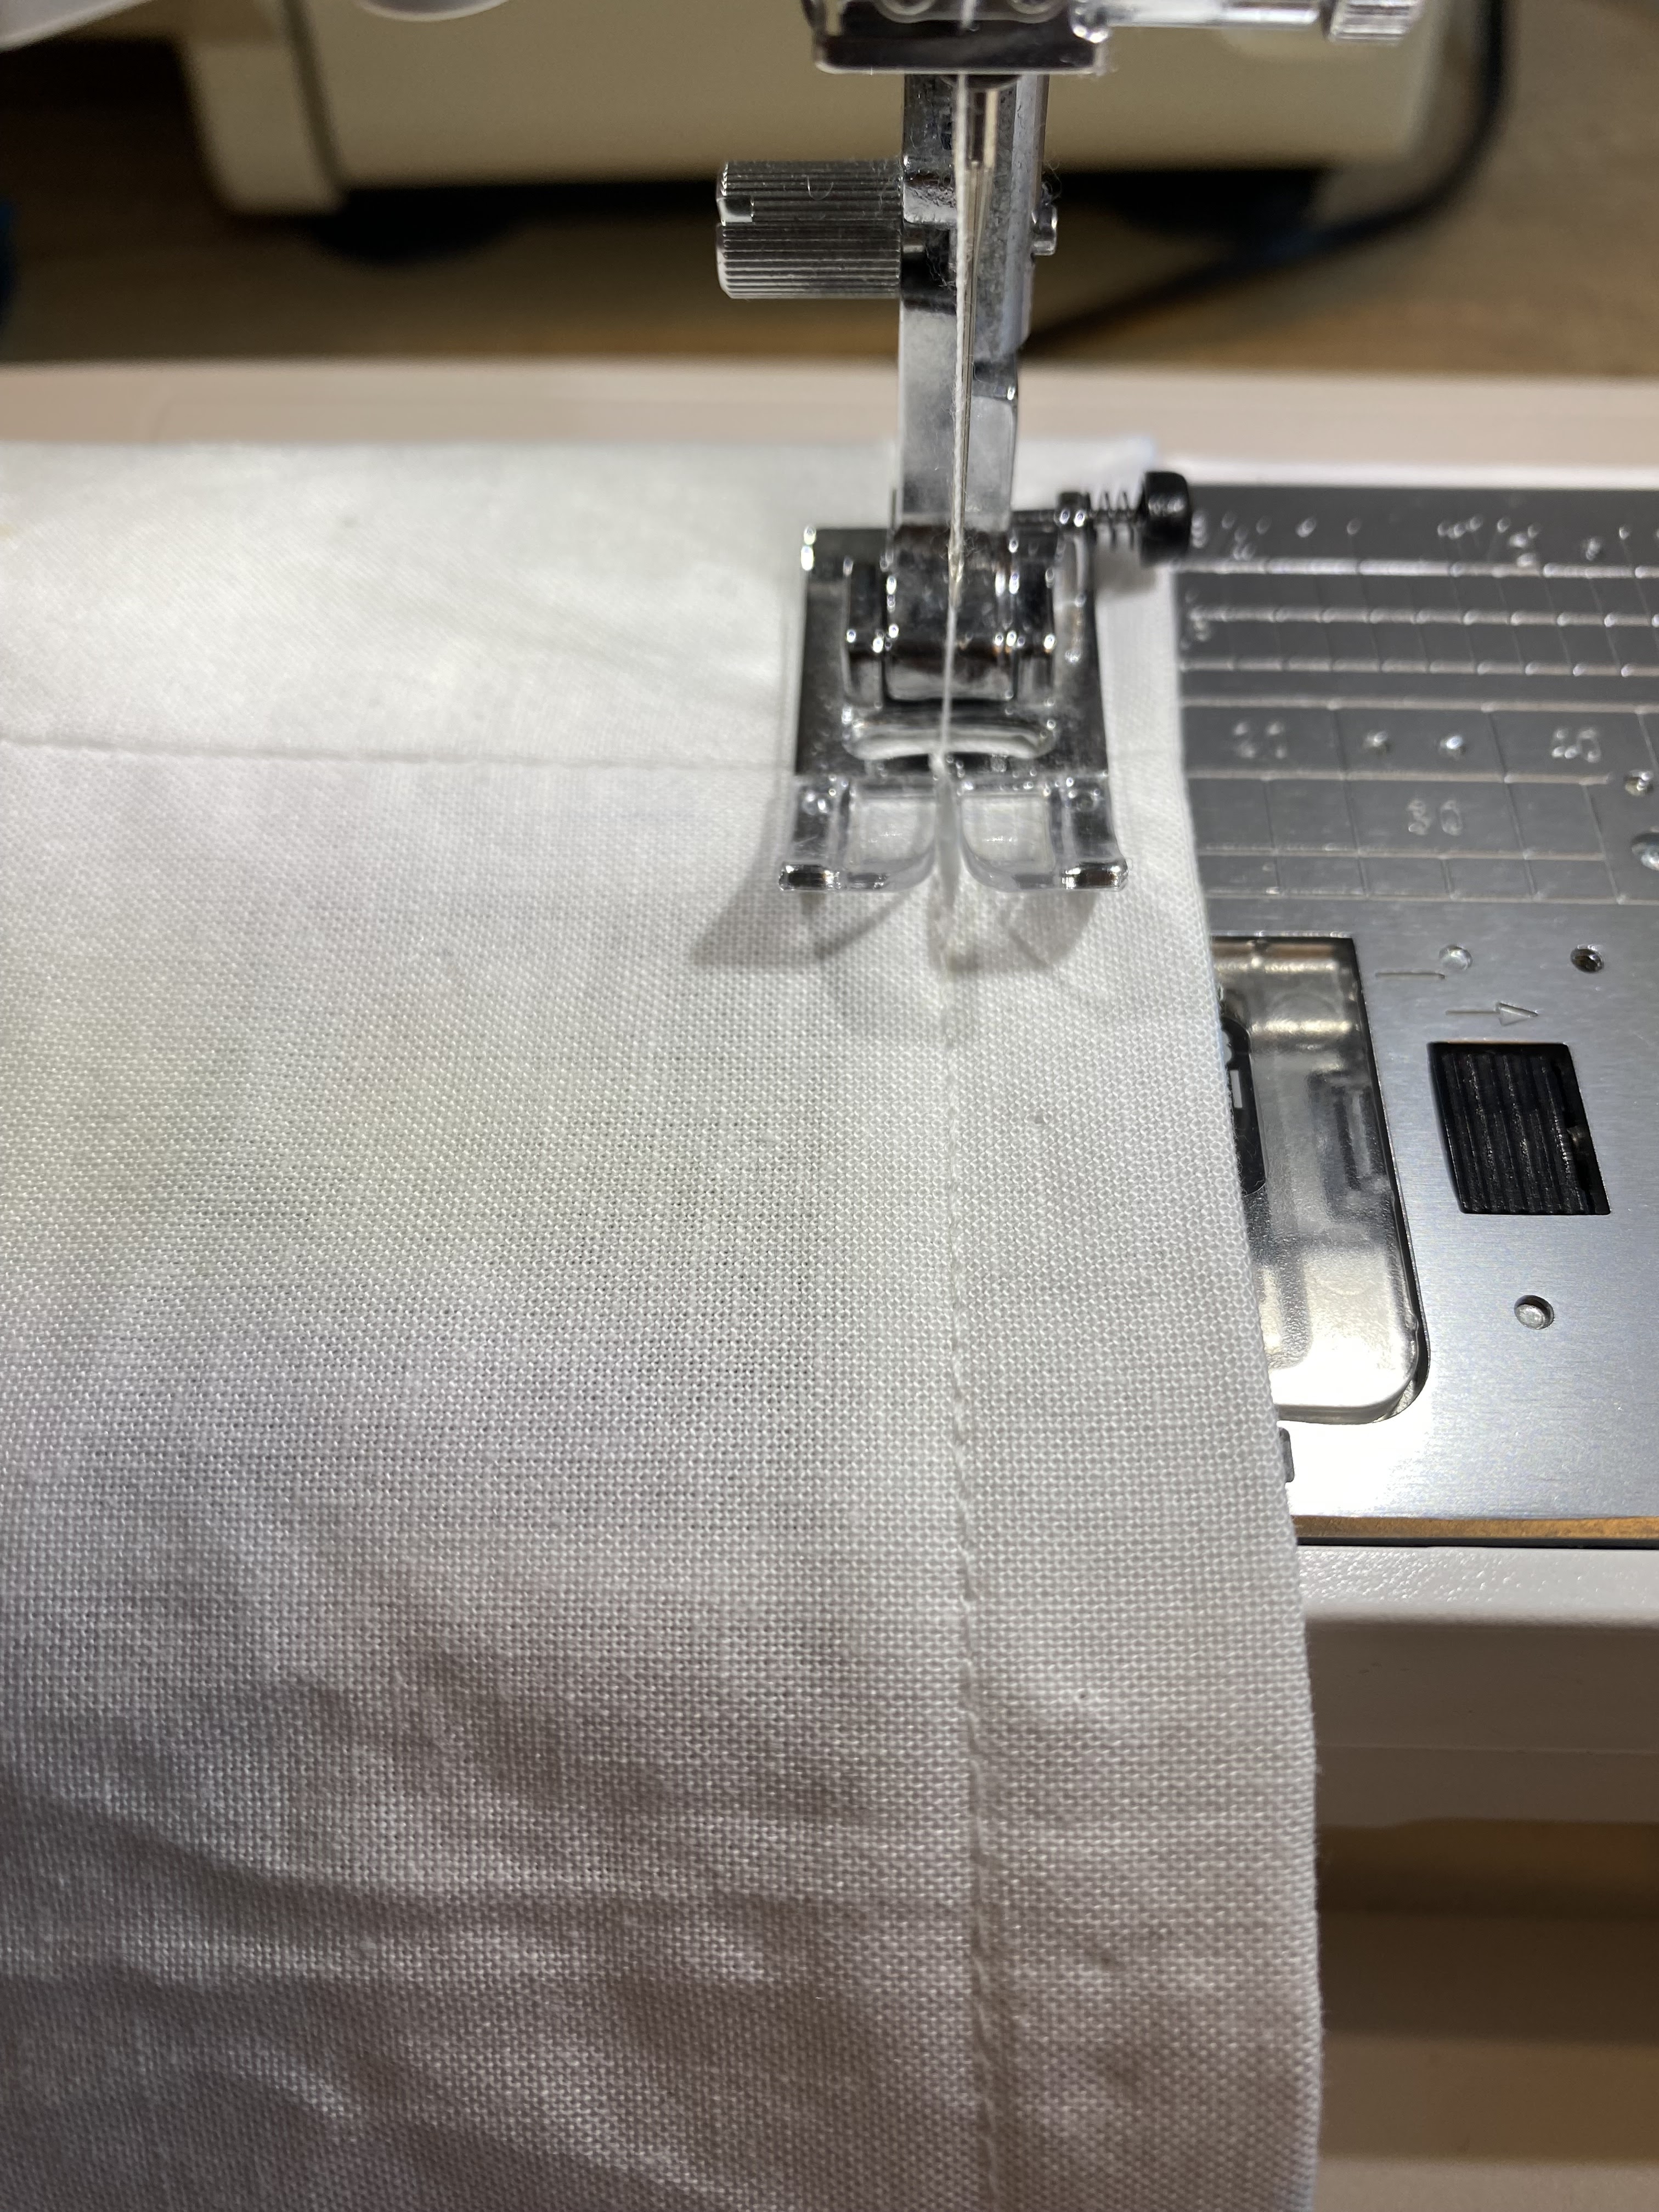
| You can see the material up close - basic cotton. |
My favourite link for Canadian smocking is by far: Sewing by Anita on YouTube. I love her videos. They present smocking as a simple technique.
I had a small issue, as I mentioned above, that the back part was shorter than the front part when stitching everything together so I just added a strip of fabric:
Problem solved: strip of fabric is added to the back.
All the pictures shown are before washing the garment. I have ironed it several times but I still have to wash it. So you can even see chalk markings (in blue) from the wrong side of fabric (because the fabric is so white).
When I began imagining and constructing this blouse I knew that the smocked pattern would be ironed a lot, even though it is kind of 3D. Hence the cotton material.
I'm not sure if I should attach the arrowed pleates discreetly at certain points. I have considered topstitching but I think it would look awful because the pattern is relatively even but not perfectly even. And topstitching it would just show/ underline every uneven detail. I have topstitched side seams of the smocked panel. So ironing the blouse a lot is another solution.
Neckline: was made with my own bias band. I do it my way, of course, I make bias tape and just sandwich the fabric between the halves of the bias tape. I stitch everything by hand and then topstitch everything with a sewing machine.
Bottom seam of the shirt: is still undone to this very moment (you can see it in the pictures if you look closely) but I will probably finish it with bias binding - like the neckline.
The blouse seems a bit boxy. It has no zipper. I pull it over my head. This is possible because I don't have broad shoulders or bust area. It sits nicely. It's a bit on the short side. I considered making it more tailored/ fitted and inserting a zipper but I decided to first see how it looked without it. And I have to wash it which might shrink it a bit.
I have to admit that this front part is a bit bulky and after wearing it for 8 hours it can get messy - wrinkled, crumpled. But I just gently straighten everything with my hands and wait to get an iron in my hands.
And that's about it. I think I have covered everything I wanted to say.